
First step is pretty obvious, drill out all the rivets in the end cap. They are 3/16 rivets, and are stainless. Use a nice bit, and go FasterLongerDeeperHarder, oil will help extend the life of the bit.
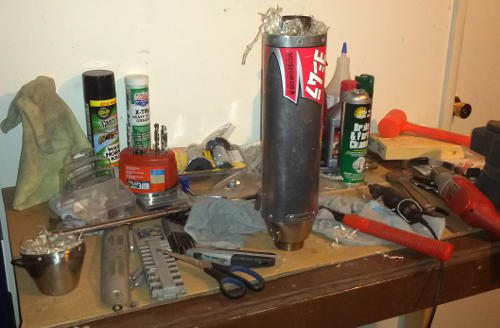
Cut the silicone on the outside of the endcap. I then used a large metal rod to gently tap from the other side to get the end-cap out, as it won't just fall out. Make sure you tap evenly around all the edges, so it comes out straight.
You need to take a measurement of how far up the inside pipe sticks up now. Mine was about 7/8" roughly.
Hopefully before you removed it you decided roughly how much to cut off. From what I've seen it might be a bit more difficult if you go more than 4". I cut off 3". I marked the can in several spots, and then used masking tape to create an easily visible line. The tape will also offer some protection if you slip while cutting.
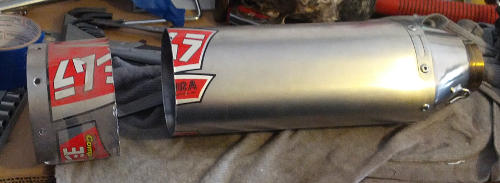
You can cut it however you want, but the cut needs to be straight, otherwise you will have problems. I cut mine with a mixture of a die-grinder and a dremel so I had good control. Then just filed the cut edge, then followed it up with some sand paper to make sure it was smooth.
So far everything is pretty straight forward so far. This is where the project gets a bit more difficult. The internal piping needs to be cut down. I put this back in the can, determined how long it was currently, so I knew how much to cut off. You need to cut it twice though, as you will need to save the end cap to put back on.
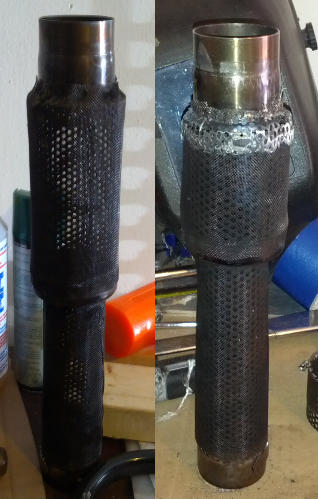
The screen helps keep the packing material out of the perforations in the tube, so I tried to keep as much of it as possible during this modification. Note: this end cap needs tack welded back on After making sure it was straight, I tacked it in three places so it wouldn't come off.
I should note this sounds easy, but it was a royal pain. The end cap on the internal pipe is welded from the factory, so it's not fun to remove it so it can be re-used.
After this, it's just shove packing in tight, and reassemble. I didn't have stainless rivets, so I used aluminum, as I didn't want to worry about steel rusting. Also note in the picture I didn't place the rivets in the same place either. It made putting it back together much easier, as I just drilled new holes and popped rivets in. The bands may not match the front, but you can't see them anyways with the side panels on.
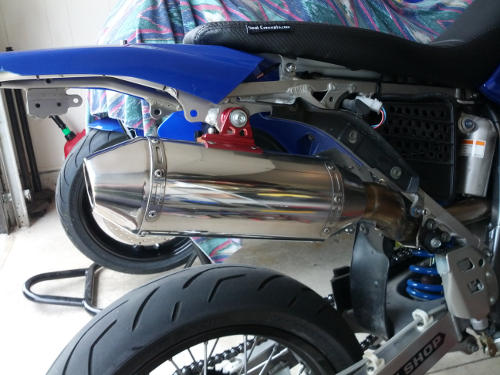
I did polish the muffler before putting it back on. Brake cleaner will take the sticker adhesive off, took some 1500 sand paper to it, then some Mothers to it. Took all of about 10 minutes to polish the entire thing.
